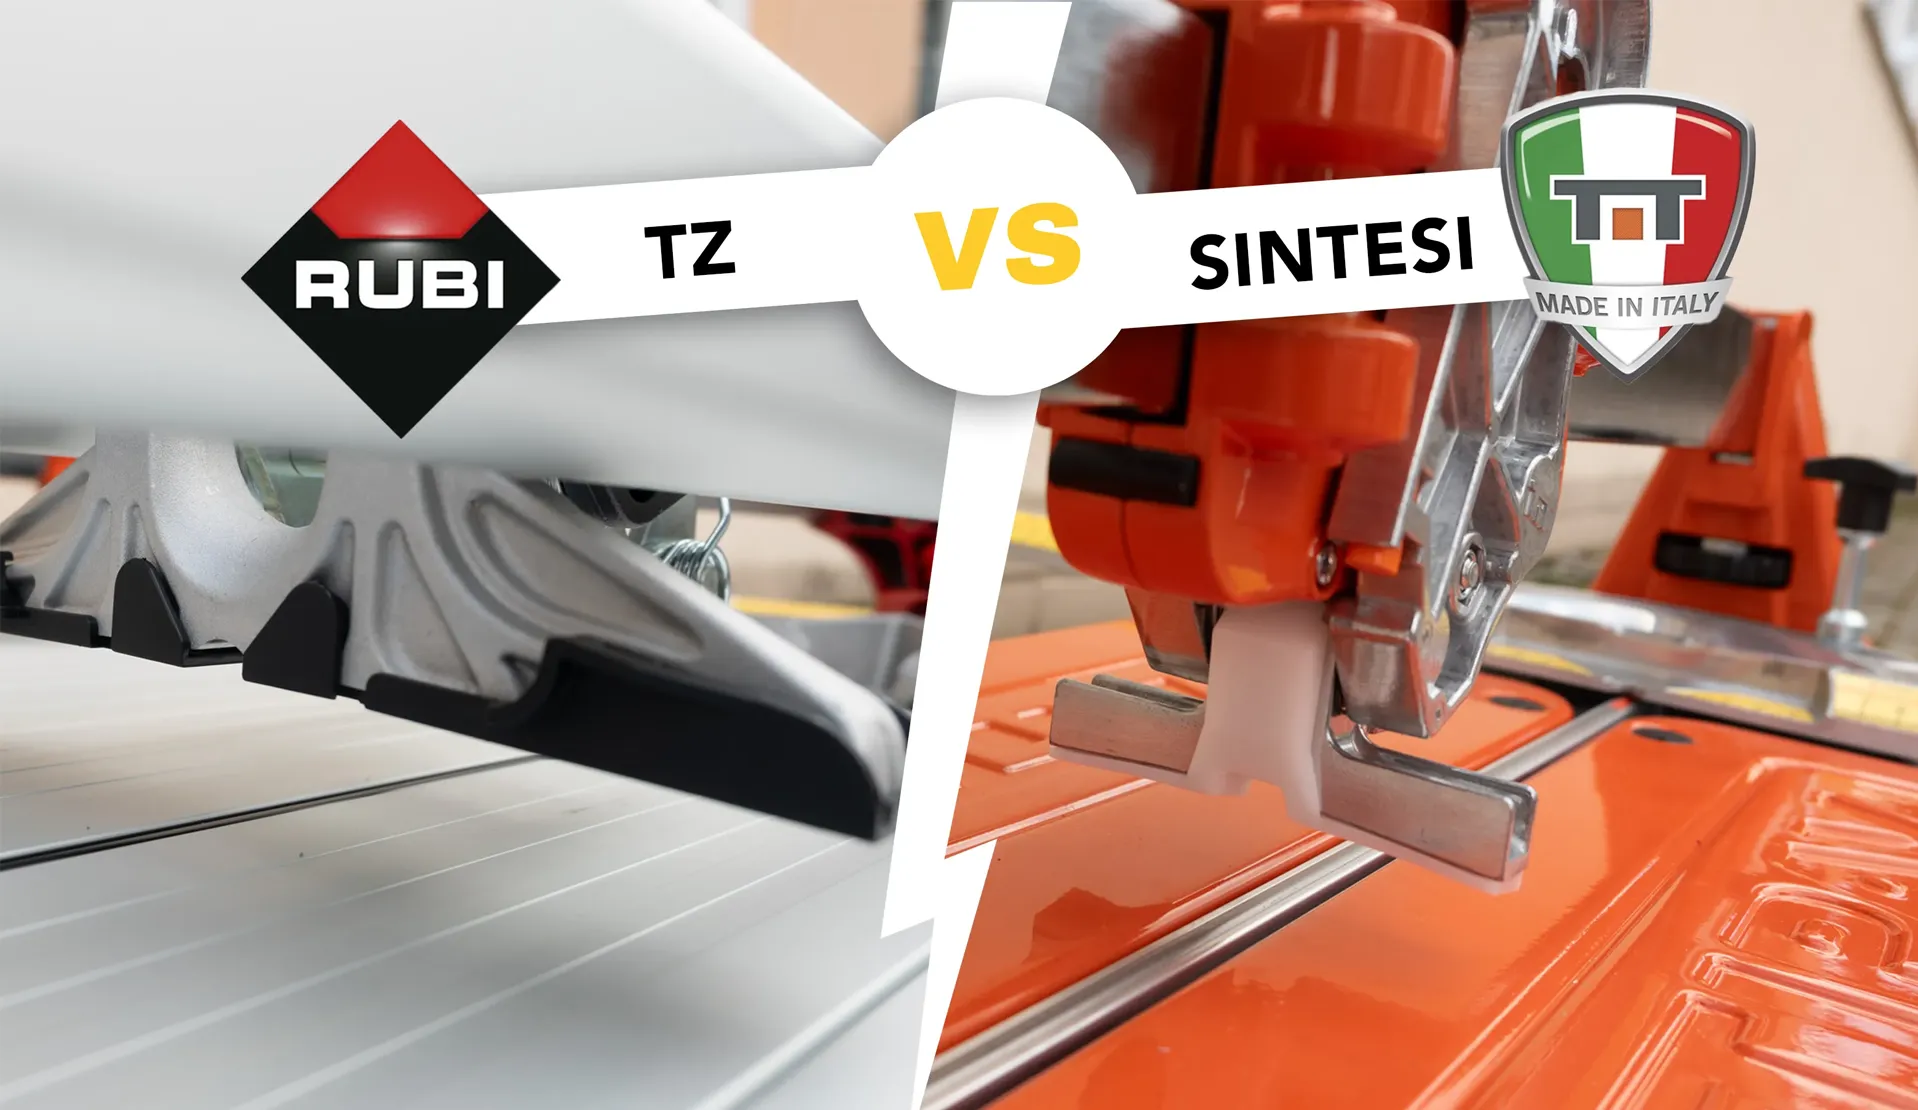
Comparison of top models of manual tile cutters – RUBI TZ vs. BATTIPAV SINTESI
In this article we will introduce 2 models of professional manual tile cutters, which are among the top models in our shop. From Rubi it
Article with tips and tricks for effective removal of old tiles from the wall.
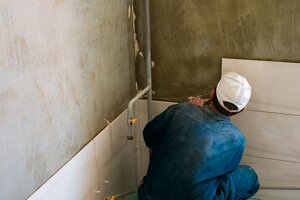
When you decide to renovate your house, apartment, etc. other space, in addition to the initial planning, the practical part of it needs to be addressed. The practical part of the renovation begins with the demolition phase, during which old surfaces or even entire structures are removed. This can be the removal of paint, trowels, tiles or even an entire wall. In today’s article, we’ll go over a few tips and tricks on how to remove old tiles in a clever way, freeing up and preparing the space for new tiles or other surfaces. Don’t worry, it’s nothing complicated.
It is important to think about protection on the job before you start the actual removal. As soon as you start demolishing, loosening and chipping tiles, it is almost certain that the tiles will break and shards will fly around the room.
Therefore, always make sure you wear safety goggles and protective gloves. They protect your eyes and hands from sharp pieces of tile that can blast off the wall during demolition.
When removing tiles from the wall during partial renovations, it is important to protect the rest of the room and its furnishings. For example, if you’re renovating a bathroom and you have large, sharp pieces of tile falling off the wall, there’s a high risk of scratching the tiles, bath, shower tray or sink. Before you start removing tiles from the wall, don’t forget to cover up the important parts of the room! We recommend using cardboard or some old tarpaulins to protect any of your utilities or sanitation equipment from damage.
When it comes to removing tiles from the walls, the first thing you can do is scrape out the grout and mortar between the tiles. This scraping will make it easier to loosen the tiles and consequently much easier and cleaner to remove. At the same time, this will reduce the likelihood of chipping and tearing off the tiles.
For easy removal of tiles from the wall, especially with cement-based grouts, we recommend using the RUBISCRAPER tool. This tool allows you to adjust the depth of removal of the adhesive compound, reducing the risk of cutting too deeply into the wall, which can cause problems later on when re-cladding, and also more labour intensive.
Its tungsten carbide blades mainly use pneumatic pressure instead of friction to remove the adhesive mixture. This means that unlike other methods such as sanding, with RUBISCRAPER you won’t create dust, saving you cleaning time while eliminating the risk of dust inhalation.
The self-guiding system allows you to stay inside the joint, minimizing the risk of damaging or breaking the tile when removing the adhesive grout, and the ergonomic design gives you greater comfort and a firm grip.
You could also use a simpler hand joint scraper for this task, but it is much more labour intensive to clean the joints.
Now that you’ve removed the adhesive grout, it’s time to remove the tiles from the wall! In this step you will only need a hammer and a chisel or chisel. Removing the first tile is usually the most difficult because you can’t access it from the side. Insert the chisel into the joint left by the scraped adhesive and tap it lightly with a hammer to apply pressure. This should loosen the tile from the adhesive. Depending on the size of the tiles and how well they are stuck to the adhesive on the wall, you may need to do this in a few different places on the tiles. After removing the first tile from the wall, you can start removing the adjacent tiles along the new exposed edges. Alternatively, you can also use an electric demolition hammer with a wide chisel to remove them. However, there is a risk of damaging the underlying wall when using it.
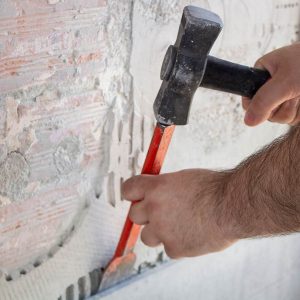
After removing all the tiles from the wall, you must also scrape off the remaining adhesive.
You can use a scraper for this step. You may need a chisel and hammer for the harder to remove parts of the glue. You can also use an electric demolition hammer with a wide chisel for this step. But be careful not to damage the underlying wall and cut unnecessary holes in it.
However, this system of work does not completely remove all the glue. To make sure that all walls are evenly cleaned and level, sand down any remaining unevenness. Diamond grinding wheels are suitable for this task. This is strongly recommended if you are planning to re-clad the wall.
You are almost done. Use a shovel and broom to remove any loose pieces of tile or excess dust. You will definitely find construction buckets or chutes handy for taking out the waste. An industrial vacuum cleaner will certainly be useful for you. It makes it easier to remove all the small pieces of tile and other building materials.
And that’s it! You may say to yourself that this is easy. For most, probably yes, but following the right procedure and using the right tools will not only save you time but also reduce labour. And you’ll also appreciate the benefits of proper and perfect removal of old tiles, including adhesive, when installing new tiles.
Article created in cooperation with profiobkladac.sk

In this article we will introduce 2 models of professional manual tile cutters, which are among the top models in our shop. From Rubi it
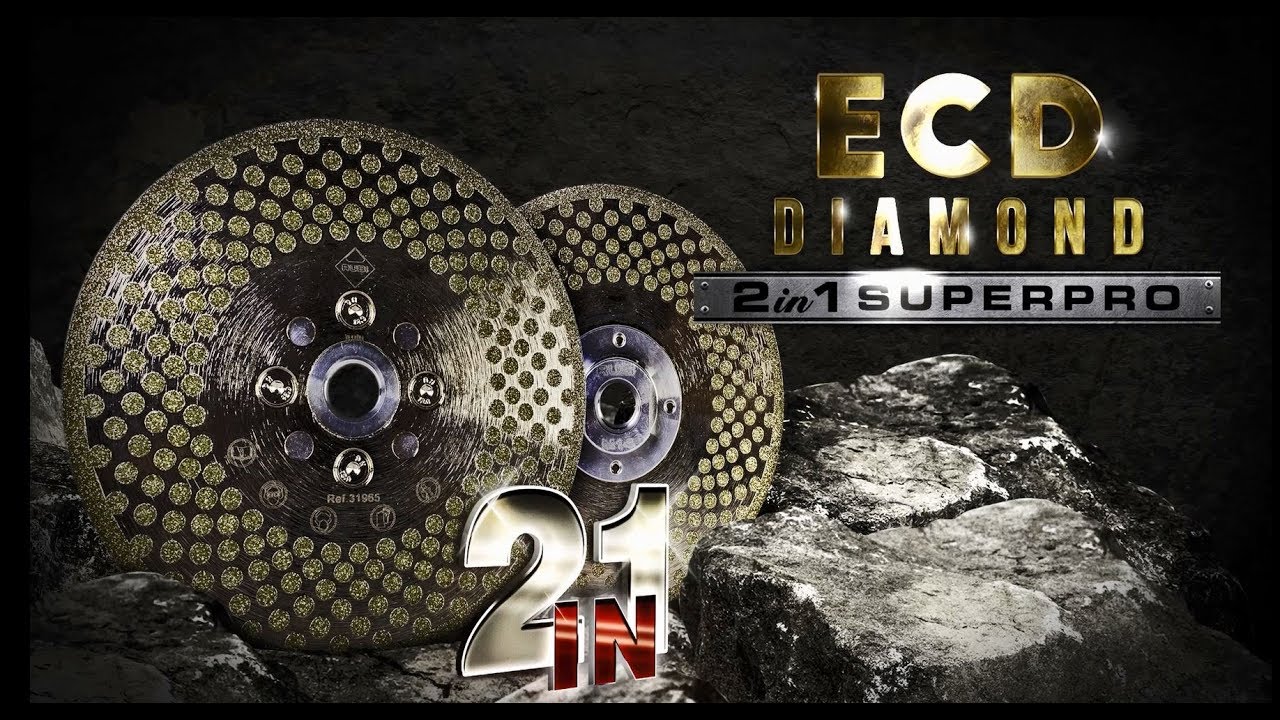
Article about RUBI ECD 2in1 SUPERPRO multi-purpose diamond blades. At the end of 2017, RUBI launched the ECD series of diamond blades. It is unique
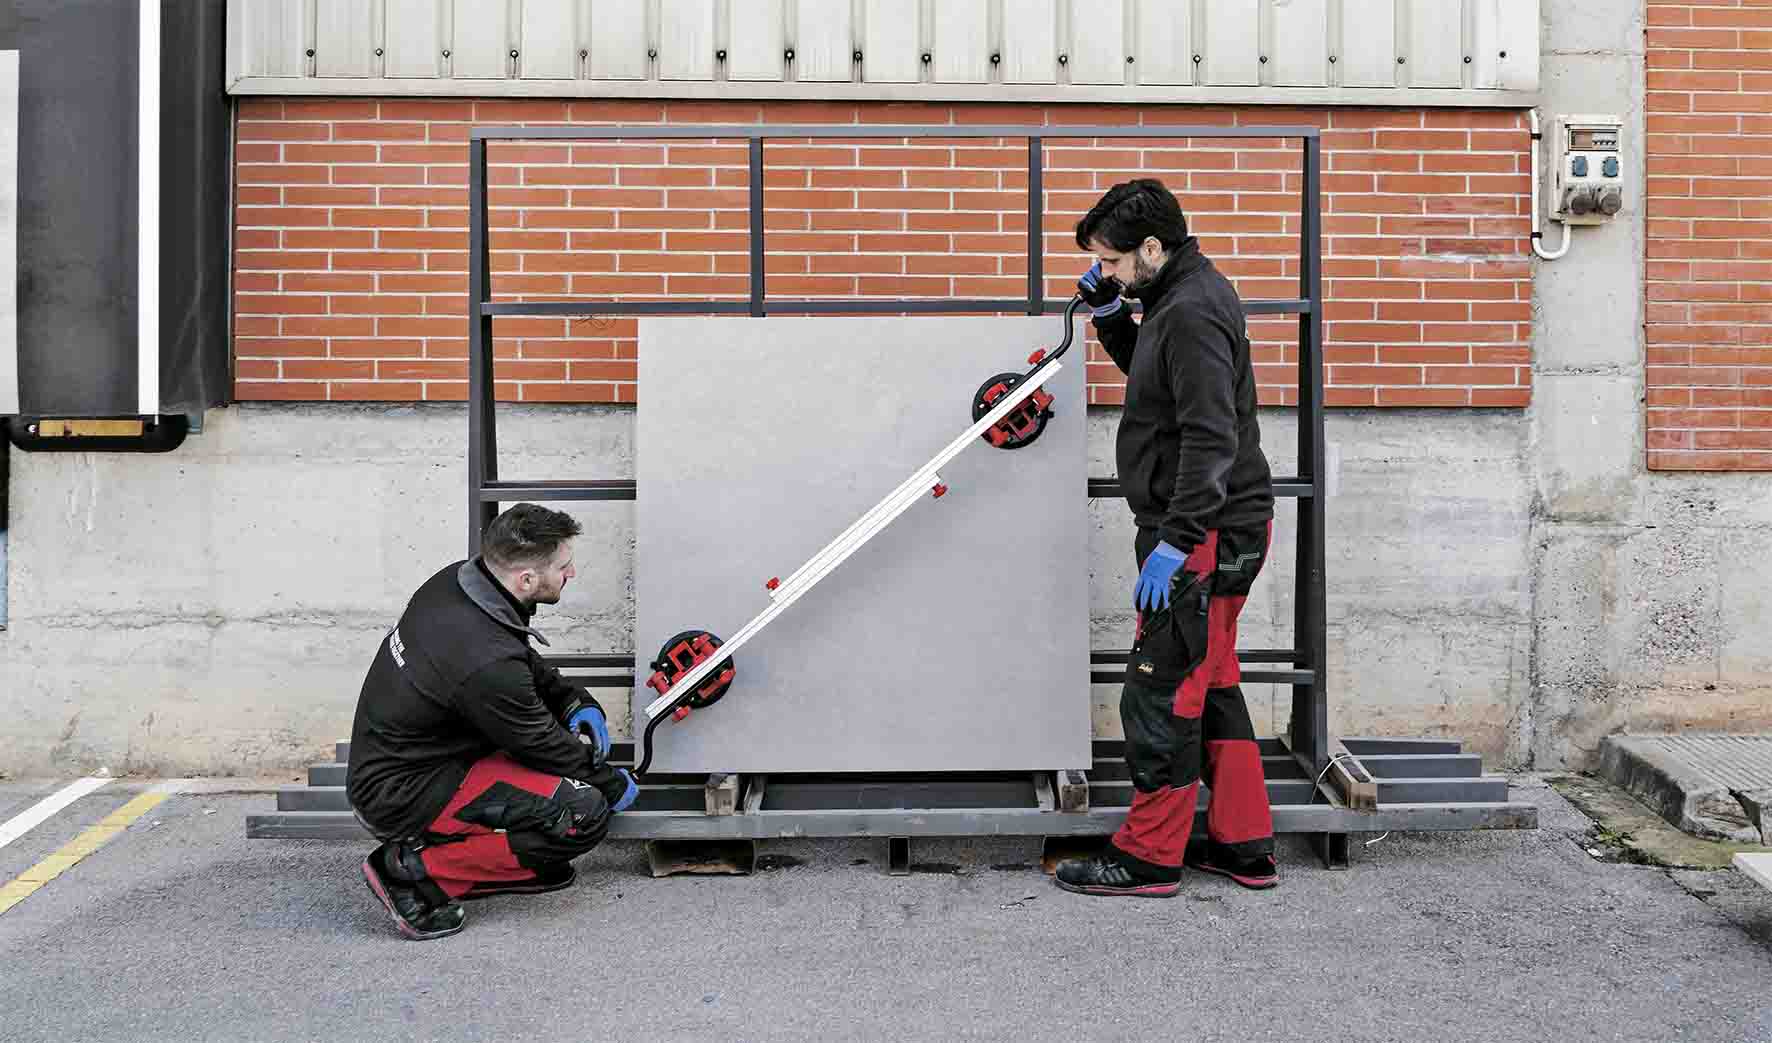
In today’s article, we will briefly introduce large-format tiles and 6 key tips for their professional installation. The use of large-format tiles is currently a
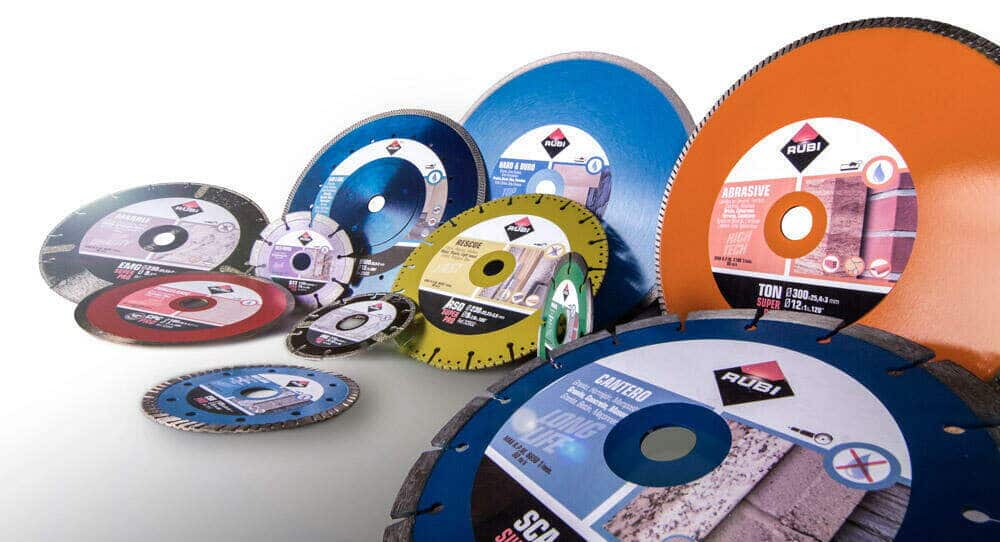
In today’s blog we take a closer look at diamond blades and their blades. We will explain how to choose the most suitable blade for
Countries of delivery
Slovakia, Czech Republic, Hungary, Poland, Slovenia, Romania, Austria and Croatia