
New brand in our shop – DISTAR
In 2024, we have expanded our profiobkladac.sk shop with a new manufacturer of tools for tile setters, DISTAR. This brand offers some innovative products that
Article with recommendations for proper mixing of adhesive mixtures for tile and grout installation.

The key to preparing an adhesive is to know its type and properties, which you will find written on its packaging. You should definitely know at least the basics, such as the mixing ratio of glue and water, the workability time (the longest time between mixing and the mixture being usable) and the curing time. Knowing this information is an essential step for proper adhesive preparation.
For a better understanding of how cementitious adhesives work and what happens during their preparation, let’s explain a few basic facts from a chemical and microscopic point of view. Adhesives commonly consist of a few basic ingredients: sand, Portland cement, lime, and (usually) various chemically manufactured additives that help the adhesive mixture hold water for longer periods of time. These additives can also give the final product different properties such as flexibility, strength, faster setting time, etc. Most modern adhesives have at least one type of additive.
Understanding how cement works in a mix and why mixing principles need to be followed at different stages is key to ensuring a successful outcome. Cement is activated by a process called hydration (quenching). Dry cement molecules are inert – they do nothing at all until they mix with water. As soon as water is added to the cement, the molecules use this water to form small crystals. The more water a molecule has available, the longer and thicker the crystals it will form.
These cement molecules not only form growing crystals next to each other, but they also form on top of each other and can also block each other. This is how cement gains its strength and the longer it is exposed to water, the stronger it becomes. In the case of glue, the crystals will not only grow around the other crystals, but they will also grow into the pores of the tile and the substrate. In this way a strong bond is achieved.
When a modifier (e.g. polymers) is added to the mix, a stronger bond with the tiles can be achieved. The more modifiers the adhesive mixture contains, the stronger the bond will be, as the polymers allow the water to be retained longer in the prepared mixture. When the polymers are exposed to water and are evenly dispersed in the mix, they surround the cement molecules and allow them longer access to the water (the water does not evaporate through the polymers). This process produces a longer, thicker cement crystal than glue without a modifier.
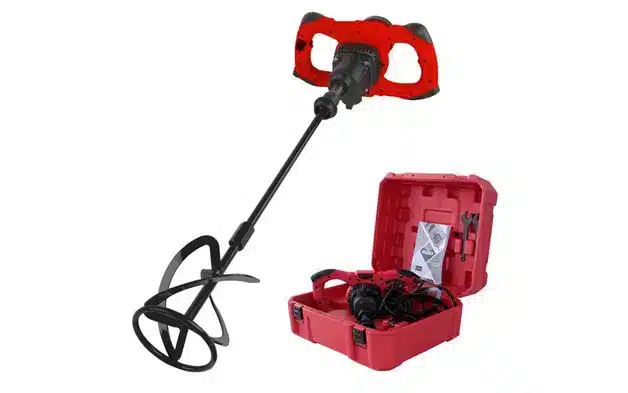
Equally important is the selection of the right mixing tools – stirrer, mixing whisk and container. Always use a low-speed blender. Most adhesive manufacturers recommend mixing at low speed to get the minimum amount of air into the adhesive and achieve a more even mixture. Also, you should use spiral mixing whisks rather than the so-called. “whipping”, the better to prevent excess air from entering the mixture. It is also important to have the right container that allows you to mix the whole mixture perfectly without creating lumps and dry spots. Combine the right mixer and whisk with the Rubi rubber bu cket and you have all the equipment you need to prepare the glue mixture correctly.
First, start by pouring water into the bucket. This will reduce the amount of dry adhesive particles in the air. If you first put dry glue in the bucket and then add water, some of the dry glue will float on the surface. Then it will be harder to mix all the dry glue that sticks to the side walls of the bucket as well. Add the glue to the water and stir, adding more glue or water as needed to achieve a thick consistency – about the creaminess of thick peanut butter. It is necessary that the resulting standing swirls in the upper part of the adhesive do not subsequently spill back into the lower layers.
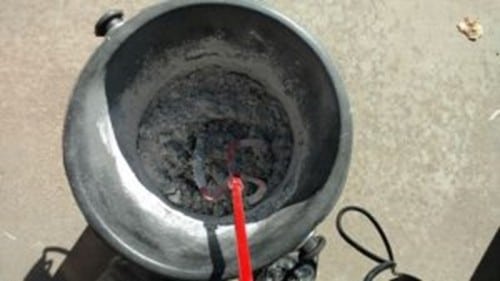
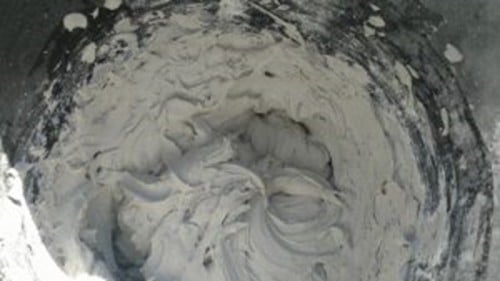
Most manufacturers recommend five to ten minutes to mix the adhesive, which may seem like too long. But we recommend that you follow this time, as it will help you achieve the desired mixing and saturation of the individual cement molecules and also of the additives in your mix. Sometimes it happens that even professionals mix the mixture only until they get a consistent mixture of powder and water. Ideally you should stick to the recommended time, but realistically you probably won’t. Therefore, you will do better if you always stir a little longer than you think is sufficient for the necessary mixing of the mixture.
You can add more glue or water at the initial mixing stage to achieve the desired density. This is no longer advisable in the later stages of mixing, because if you add more water or glue after the quenching stage, the glue will weaken considerably. The glue should be thick enough to roll over the trowel when scooped. If it runs off, it is too thin and you need to add more powder to the mixture.
The extinguishing phase is very important! At this stage, you can most influence the correct mixing of the adhesive mixture. Extinguishing means leaving the mixed glue untouched for about ten minutes. It is essential to leave the adhesive at rest for the chemical composition to work properly. If you don’t do this and use it immediately after the initial mixing of the mixture, it will lead (quite quickly) to the glue hardening and becoming non-functional. Then the adhesive with the tiles will not stick or cure properly. Properly executed extinguishing will also give you maximum working time after the glue is fully mixed.
Most modern modified adhesives have powder additives (usually some polymer) added to the dry mix. Simply put, these additives, such as cement, are activated by hydration, but they work a little differently. When water is added to the cement, crystals begin to grow in the mixture and the adhesive gains its strength. The longer the cement is exposed to water, the longer the crystals grow. The longer the crystals grow, the stronger the cured product will be.
As soon as you add water to the additives, the molecules in the additives absorb the water. Imagine the molecule of the additive as a cotton swab. The outer layer of the additive will be hydrated, but the inner part will still be dry. Quenching gives the ingredient enough time to fully saturate.
If you don’t leave the adhesive in the quench phase long enough, the mixture will have dry polymers. Dry polymers will consume water from the cement and cause it to solidify rapidly. If the cement does not have enough water to continue forming crystals, the growth and hardening process essentially stops. Therefore, do not allow the adhesive mixture to extinguish for too short a time, as this weakens the adhesive and creates potential bonding problems. Lack of crystal formation in cement leads to inadequate bonding with the tiles and substrate. Allow the additives (modifiers) to dissolve completely so that they are properly represented in the adhesive mixture.
Once the adhesive has been allowed to sit for a period of time, it is necessary to continue mixing until the mixture is final for even distribution of the ingredients throughout the adhesive mixture. This process helps spread the polymers and water throughout the mixture to achieve a consistent and properly mixed adhesive during setting and after curing.
Do not add more water or dry glue to the mix at this stage! Excess water would break down the mixture. Water is already present between the adhesive molecules and separates them from each other. The further apart the molecules are when the cement crystals grow, the harder it is to achieve the interlocking of the molecules from which the bonding strength of the adhesive comes. If the crystals cannot fully bond with each other, the final product will be weaker. Incidentally, this is also why it is undesirable to allow an excessive amount of air in the glue mixture.
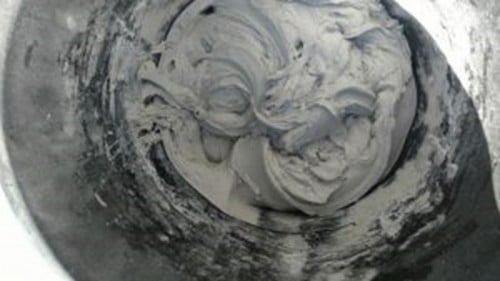
If the adhesive is properly mixed, it should have standing grooves when spread with a trowel without slumping (picture).

So how to mix the glue correctly? Let’s summarize the basic rules:
A properly mixed adhesive mixture is very important for a successful and long-lasting tile installation.
As you have had the opportunity to read, the correct mixing is not entirely easy, but if you do it right, not only you will appreciate it during the actual gluing, but also your customer. In our shop we offer a wide range of tools and accessories for the professional preparation of adhesive mixtures.
This article was written in cooperation with profiobkladac.sk

In 2024, we have expanded our profiobkladac.sk shop with a new manufacturer of tools for tile setters, DISTAR. This brand offers some innovative products that
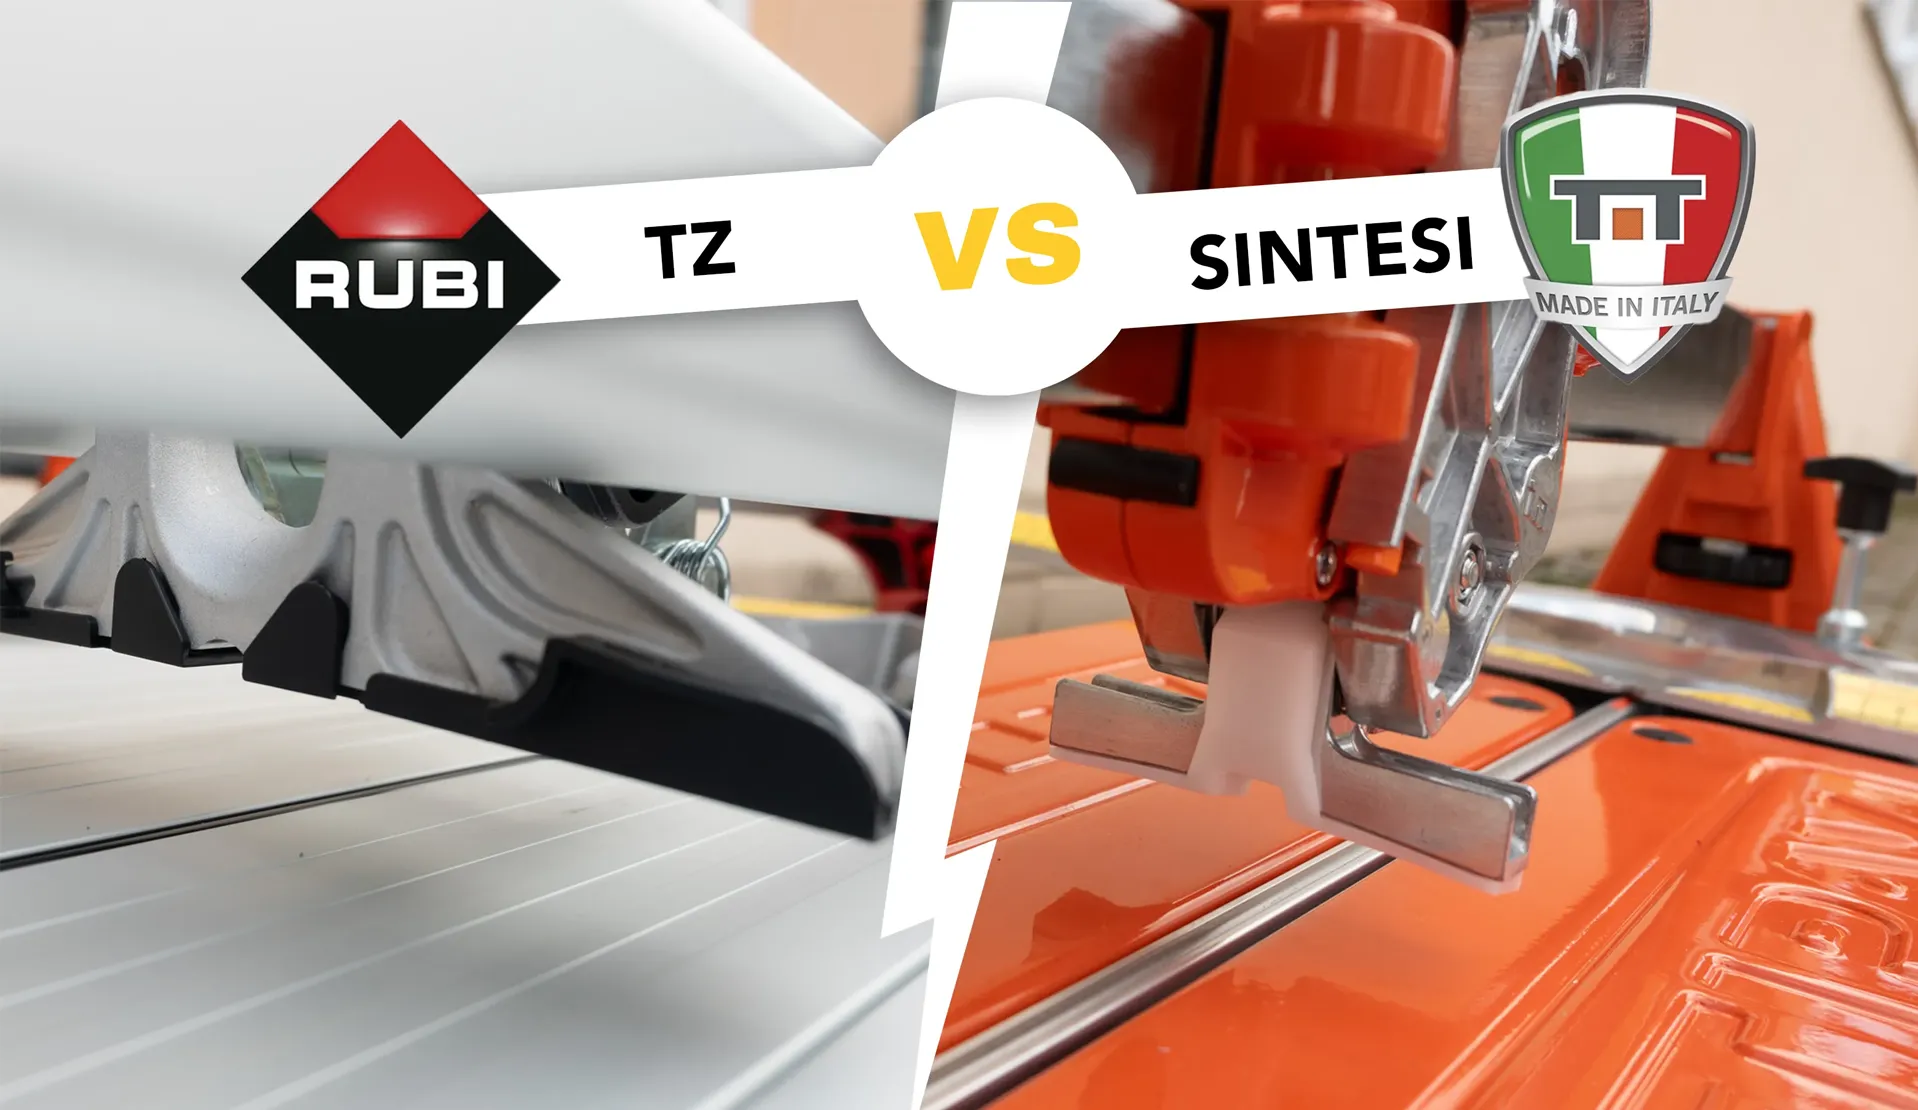
In this article we will introduce 2 models of professional manual tile cutters, which are among the top models in our shop. From Rubi it
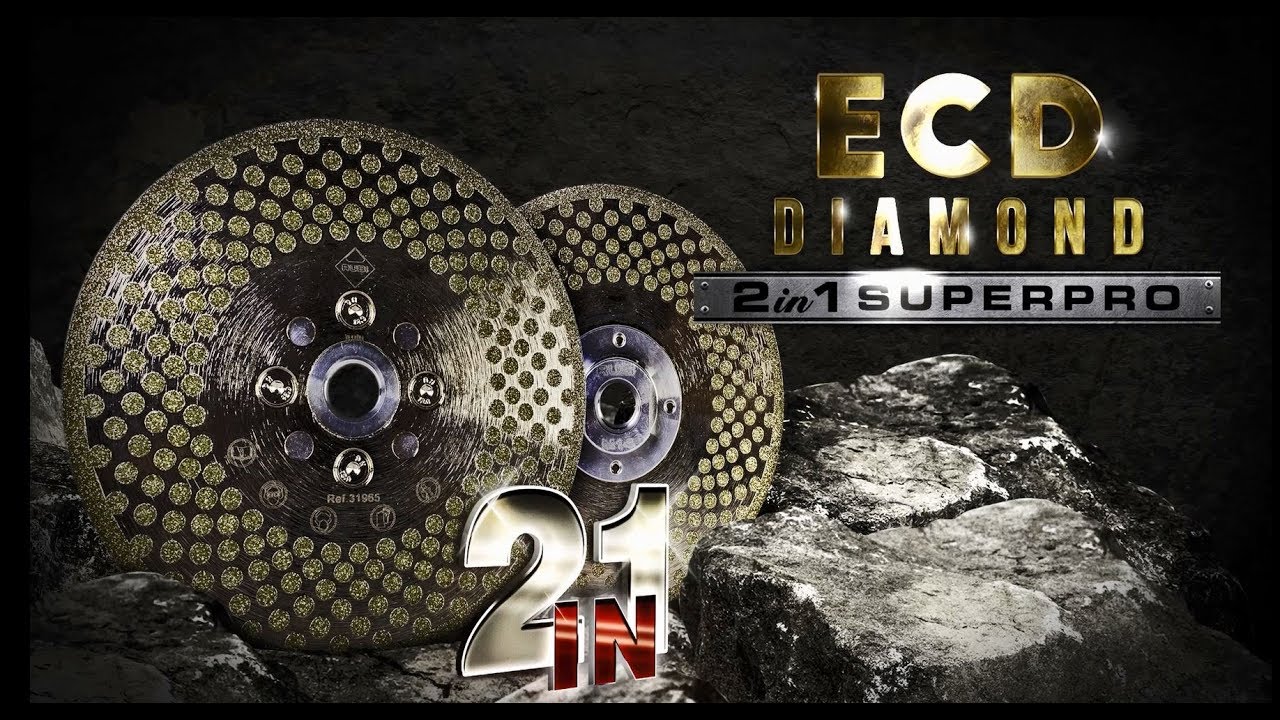
Article about RUBI ECD 2in1 SUPERPRO multi-purpose diamond blades. At the end of 2017, RUBI launched the ECD series of diamond blades. It is unique
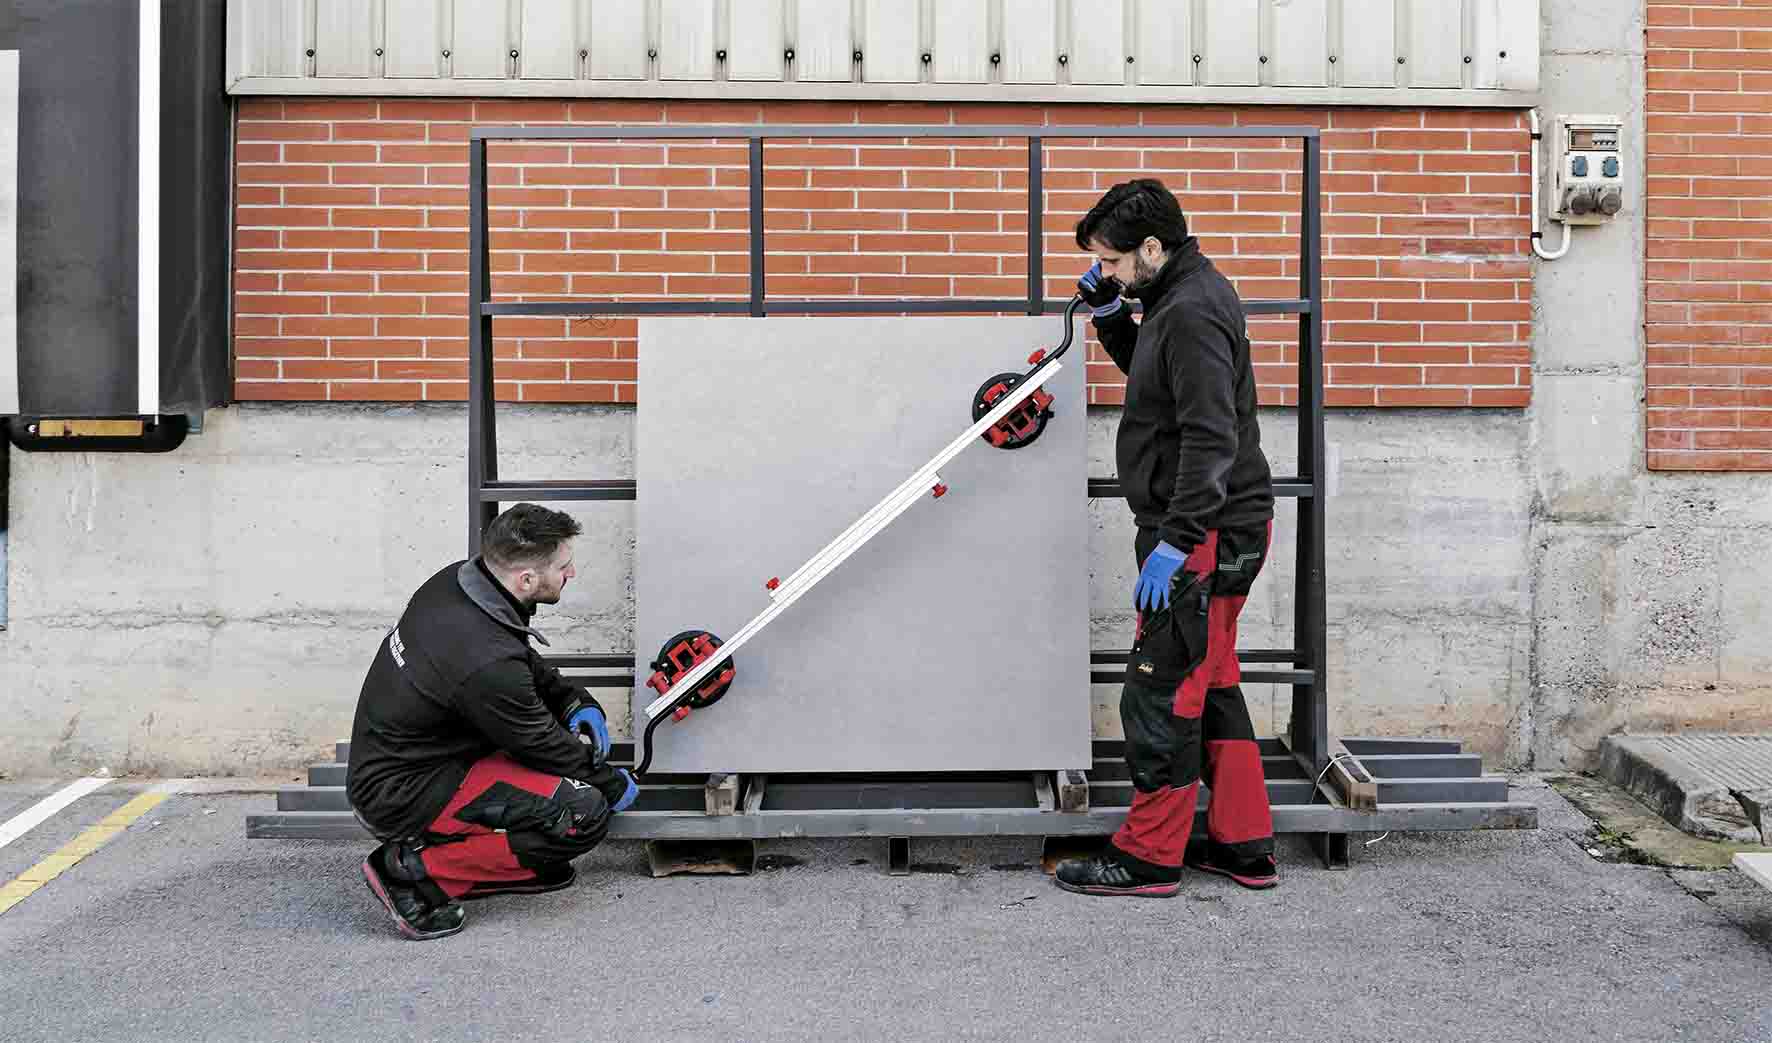
In today’s article, we will briefly introduce large-format tiles and 6 key tips for their professional installation. The use of large-format tiles is currently a
Countries of delivery
Slovakia, Czech Republic, Hungary, Poland, Slovenia, Romania, Austria and Croatia