How to choose the right diamond cutting blade?
In this blog we focus on a general topic, the range of diamond cutting blades, especially from RUBI, their characteristics and their application for different
![]()
An article on the different types and sizes of RUBI trowels and a short description on how to choose the right one.
Probably every tiler has found himself in a situation where he couldn’t decide between two or more tools and wondered which one would be the most suitable for him. After the last article about RUBI cutting wheels, today we will talk more about another important accessory for tile setters. We’ll talk about trowels, their dimensions and how to apply glue with them. This article should remind you of some basic information about applying adhesive, to facilitate your decision-making when choosing a metal trowel (the so-called toothed trowel) on the example of the use of trowels with different shapes and sizes of teeth from the company RUBI.

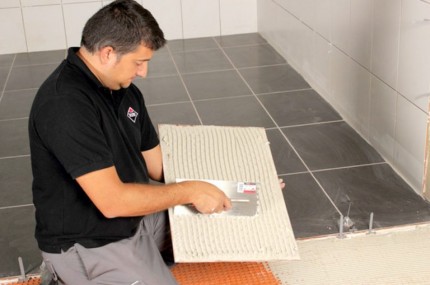
The basic rules of tile installation are that the adhesive should cover at least 85% of the total area under the tile in a dry environment (most floors, fireplaces, etc.). In humid environments (showers, bath surrounds, etc.), coverage of at least 95% of the total area should be maintained. Plus, the adhesive should overlap all four corners of the tile. Checking that the adhesive has been applied correctly is quite easy after the tile has been peeled off. There should be no visible strips of adhesive on its underside and it should completely cover the back of the tile and the substrate.
We can certainly agree that there is no one-size-fits-all type of trowel and no one-size-fits-all size of tines for adhesive application. Its shape and size should depend on the type of tiles you will be gluing, as well as the properties of the adhesive and the substrate. The applied adhesive should be “just right” for a firm and durable bonding of the tile.
The shape, size (dimension) and tooth spacing of the trowel are the basic parameters of each trowel designed for adhesive application. This lets you know how much adhesive will remain on the substrate after it has been spread and also after the tile has been laid.
RUBI produces trowels for tile setters in two basic ranges: square-toothed and U-shaped. They differ in the width of the projections (gap between the teeth) and the height of the projections.
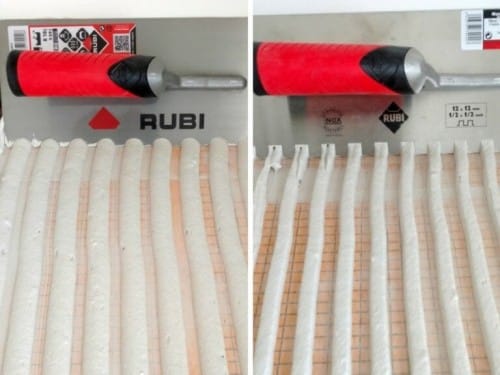
The 12×12 mm square protrusion smoother will leave 12 mm high glue strips with a 12 mm gap between them. If you use a trowel with a 6×10 mm protrusion, this means that the adhesive strips will be 6 mm wide and 10 mm high, with a 6 mm gap between them. If only one dimension is indicated for a trowel, this means that both dimensions are the same (e.g. trowel with 12 mm projections).
Smoothers with U-teeth normally have only one dimension listed. The dimension expresses both the width and the height of the tooth. If you use a 10mm U-shaped trowel, it will have crescent-shaped protrusions and the spread adhesive will be applied to the substrate in semicircular strips. The height of the strips and the gap between them will be 10 mm, i.e. with the dimension indicated on the trowel. The width of each strip will be double the specified trowel dimension.
The size of the trowel teeth determines how much adhesive is left on the substrate, more precisely how thick the adhesive bed under the tile will be. If you use a 12×12 mm square tooth trowel, the adhesive bed under the tile will be half the thickness of that dimension, i.e. 6 mm. A 6×6 mm smoother will create a 3 mm high bed, as the adhesive will also spread into the space between the formed strips.
Smoothers with U-shaped teeth will leave an adhesive bed approximately 1/3 the height of the teeth. So the bed height for a 10 mm trowel will be approximately 3 mm.
U-tooth trowels from 10 mm and square trowels from 6 mm leave a minimum 3 mm adhesive layer under the tile. So which one to choose?
The shape of the teeth determines how easily the adhesive spreads and how perfectly the tile is set into the adhesive. In general, it is easier to place a tile in the adhesive prepared with a U-toothed trowel because semicircular strips of adhesive are easier to spread than square ones. The square strips of adhesive must be spread on both sides when the tiles are pressed. The top of the strips shall be spread first, and then they shall be spread sideways. When the tiles are pressed into a semicircular strip, the adhesive spreads out on the underside with less chance of air bubbles forming.
Determining the correct trowel dimension (size) depends on the tile itself and the substrate. More specifically, it depends on how flat the tiles and the substrate are. The curvier the tile or substrate, the more adhesive you need, which also means using a larger trowel size.
First, you need to determine how much adhesive you want to have underneath the tile after it’s glued down. The minimum thickness should be 2 mm. Selecting a minimum adhesive thickness of 3 mm will make it easier to calculate the correct size of the trowel. There are two basic ways you can determine the correct trowel size: calculating the deformation of the tile and substrate or visual inspection.
Calculating the deformation of a tile means determining the amount of deviation from the plane. You can calculate it by laying one tile on top of another and comparing how the corners fit together. If the tile is crooked, the opposite corner will be deviated. Measure the size of the gap between the corners of the tiles and divide the value by two. The result gives you the deformation of the tile.
One example, if when comparing tiles a gap of 6 mm is created in the opposite corner, this means that the tile is 3 mm crooked. You need to increase the intended thickness of the adhesive layer you want under the tile by that many mm to have the correct thickness of adhesive! If you want the adhesive layer under the tile to be a minimum of 3 mm and the tile has a 3 mm deformation, you need to use a trowel to create a 6 mm thick layer of adhesive. In this case, you will achieve the correct coverage with a trowel with 12 mm square teeth.
Visual inspection is done simply by placing the tile in a layer of adhesive. You then take it out and look at the substrate and the back of the tile to check that you have the correct adhesive coverage.
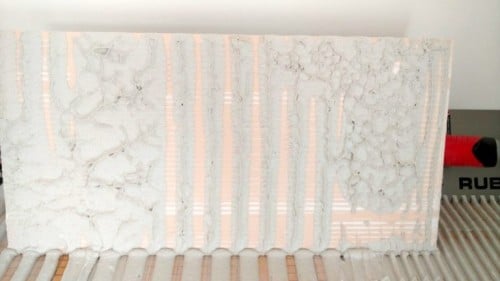
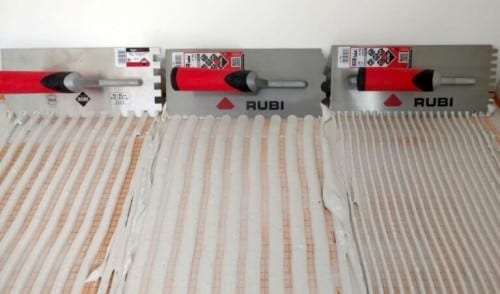
You can see an example in the picture. This tile was pushed into the adhesive about halfway. Note that the adhesive bed created by the trowel with 12 mm square teeth on the left side has the greatest coverage. A bed formed with 8 mm square teeth follows behind. A smoother with U-shaped teeth in the middle does have even coverage, but you would need much larger teeth to get better coverage.
When using the tile deflection calculation method to determine the correct trowel size, you must still also visually check the adhesive coverage to make sure you are using the correct trowel size!
In general, the larger the tile, the larger the size of the trowel used. It is always better to use a larger dimension than you would actually need. A little more glue under the tiles is perfectly permissible, while an insufficient amount of glue is unacceptable.
The use of a trowel with square or U-shaped teeth is a personal choice of the tiler. Although it is easier to achieve the desired adhesive coverage using U teeth, you must use a larger size of trowel teeth to achieve the same thickness of adhesive bed. But with vertical tiling, it’s sometimes more difficult because the adhesive bed created with smaller square teeth rather than larger U teeth will hold up on the wall.
We have briefly explained what types of trowels you can use for tiling, how to choose the right size of trowel and its teeth to make the tiling process well done, durable and time-efficient at the same time. Of course, it also depends on the materials used, the quality of the tiles, the adhesive used, the mixer, the levelling system, the various accessories and last but not least on your skill and experience.
This article was written in collaboration with www.profiobkladac.sk.
![]()

In this blog we focus on a general topic, the range of diamond cutting blades, especially from RUBI, their characteristics and their application for different
![]()
A2E, s.r.o. introduces you to the Kaufmann brand, manufacturer of quality construction tools and its range of hand tile cutters divided into STANDARD, ROCK and PRO ranges.
![]()

In 2024, we have expanded the range of goods in our Tiler-Market store to include a new manufacturer of tools for tile setters, DISTAR. This
![]()
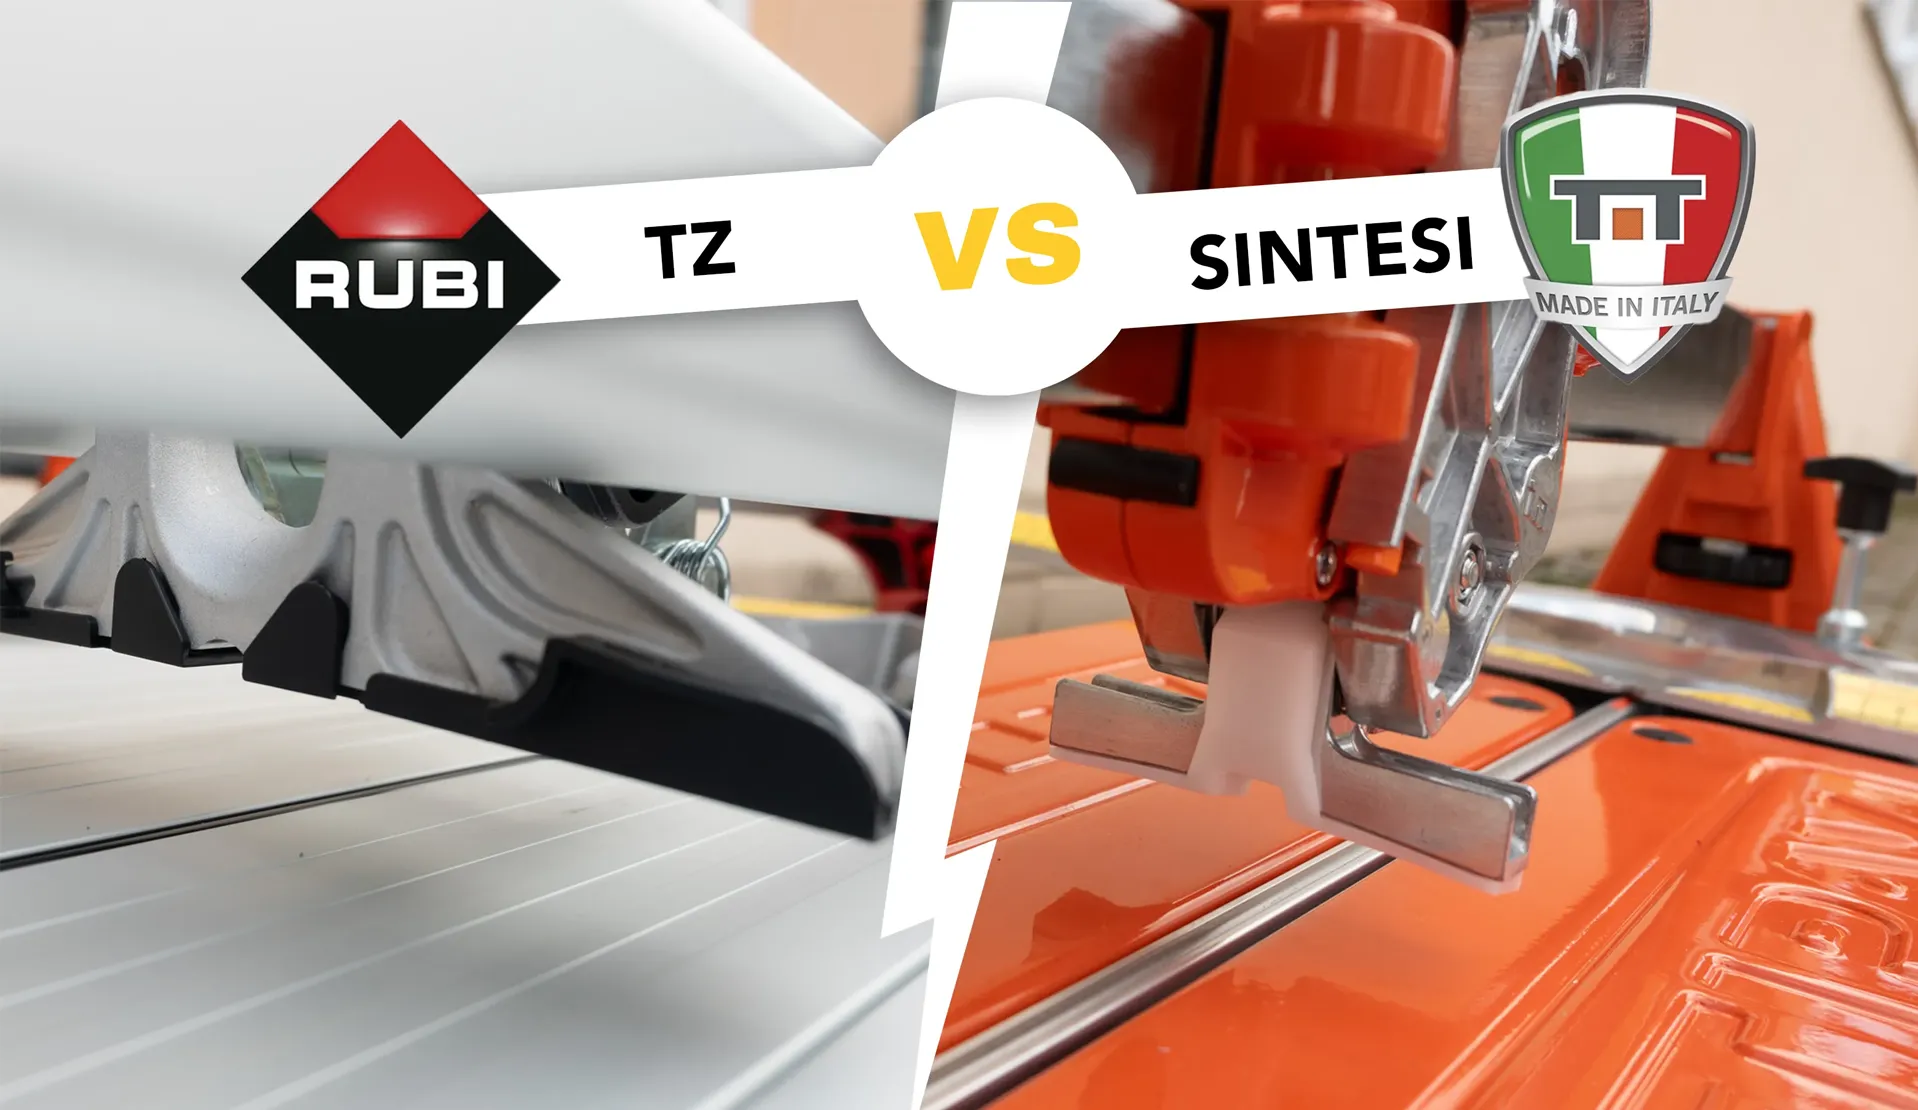
In this article we will introduce 2 models of professional manual tile cutters, which are among the top models in our shop. From Rubi it
![]()
Countries of delivery
Slovakia, Czech Republic, Hungary, Poland, Slovenia, Romania, Austria and Croatia